Add, update, delete users and setting the correct roles for your users is very easy in the Cirrus Platform.
There are multiple methods of managing your users
1. Manual Administration of user
| Important: | Key things to keep in mind when creating users |
|---|---|
| What a user can see and do is determined by: - Your role as defined in the platform - Your profile settings in addition to this role - Content needs to be actively shared with a user And additionally it is always good to remember: - Content needs to be live / published to be used / seen - Content gets locked when used by another user or in an assessment for example |
Creating a user does not trigger an email in Cirrus. Customers can use their own systems / channels for this.
Tip: you can send a link to the users with the cirrus password reset link of your environment. This will force them to create a new password. Do not use this if you have an integration in place.
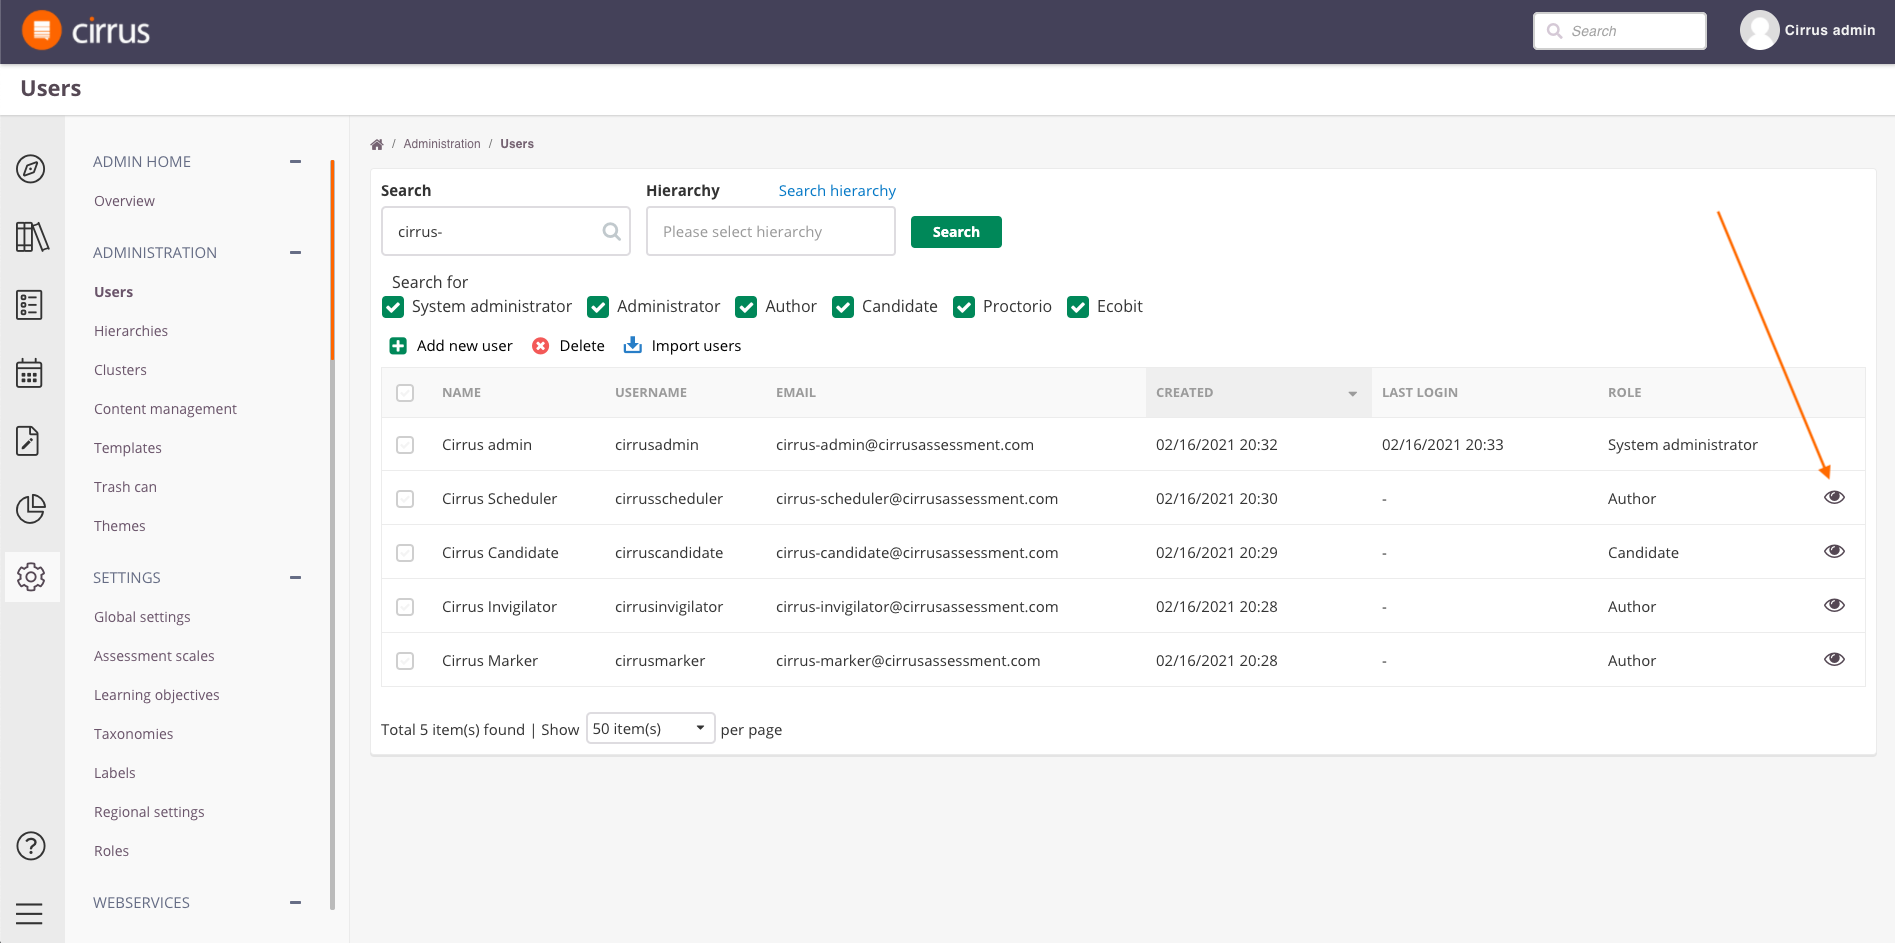
Overview User management
- Search - use this box to search name, username or userID
- Search hierarchy - this opens a modal window to search/filter for groups of users
- Add new user, Delete and Import users buttons
- Click on the row of any user to open their profile.
- Use the checkboxes to remove/add specific roles in your results.
Allow login as
User like Admins and Coordinators can be granted the permission to login as another user.
- This will be a setting under Admin > Roles > Site > 'Login As'
If this has been enabled you can login as a user by going to Admin > Users and clicking on the 'eye' icon next to the user details.
Be very careful using 'login as' feature, since this is a powerful tool. We advise it is only activated for experienced system administrators.
The Roles Type levels are taken into account for being able to Login as other users:
-
System Admin can overtake: System Admin / Admin / Author / Candidate
-
Admin can overtake: Admin / Author / Candidate
-
Author can overtake: Author / Candidate
-
A new window will open (for most browsers you will need to agree to allow pop-ups like this from Cirrus) and you will be automatically logged in as that user.
-
A blue bar at the top warns you that you are viewing and doing things in name of this user.

-
The user itself will get a notification on their Dashboard (if enabled for them) that you have done this.
Permissions
There are two things that determine which users you see and can add and also which permissions you can grant them(!):
- Your type of role or access level: this defines what type of other users you can add or edit. See 'Access levels for user management in Cirrus'. This means that for example a System Admin in Cirrus can deputise the user management for groups within the hierarchy to Admins.
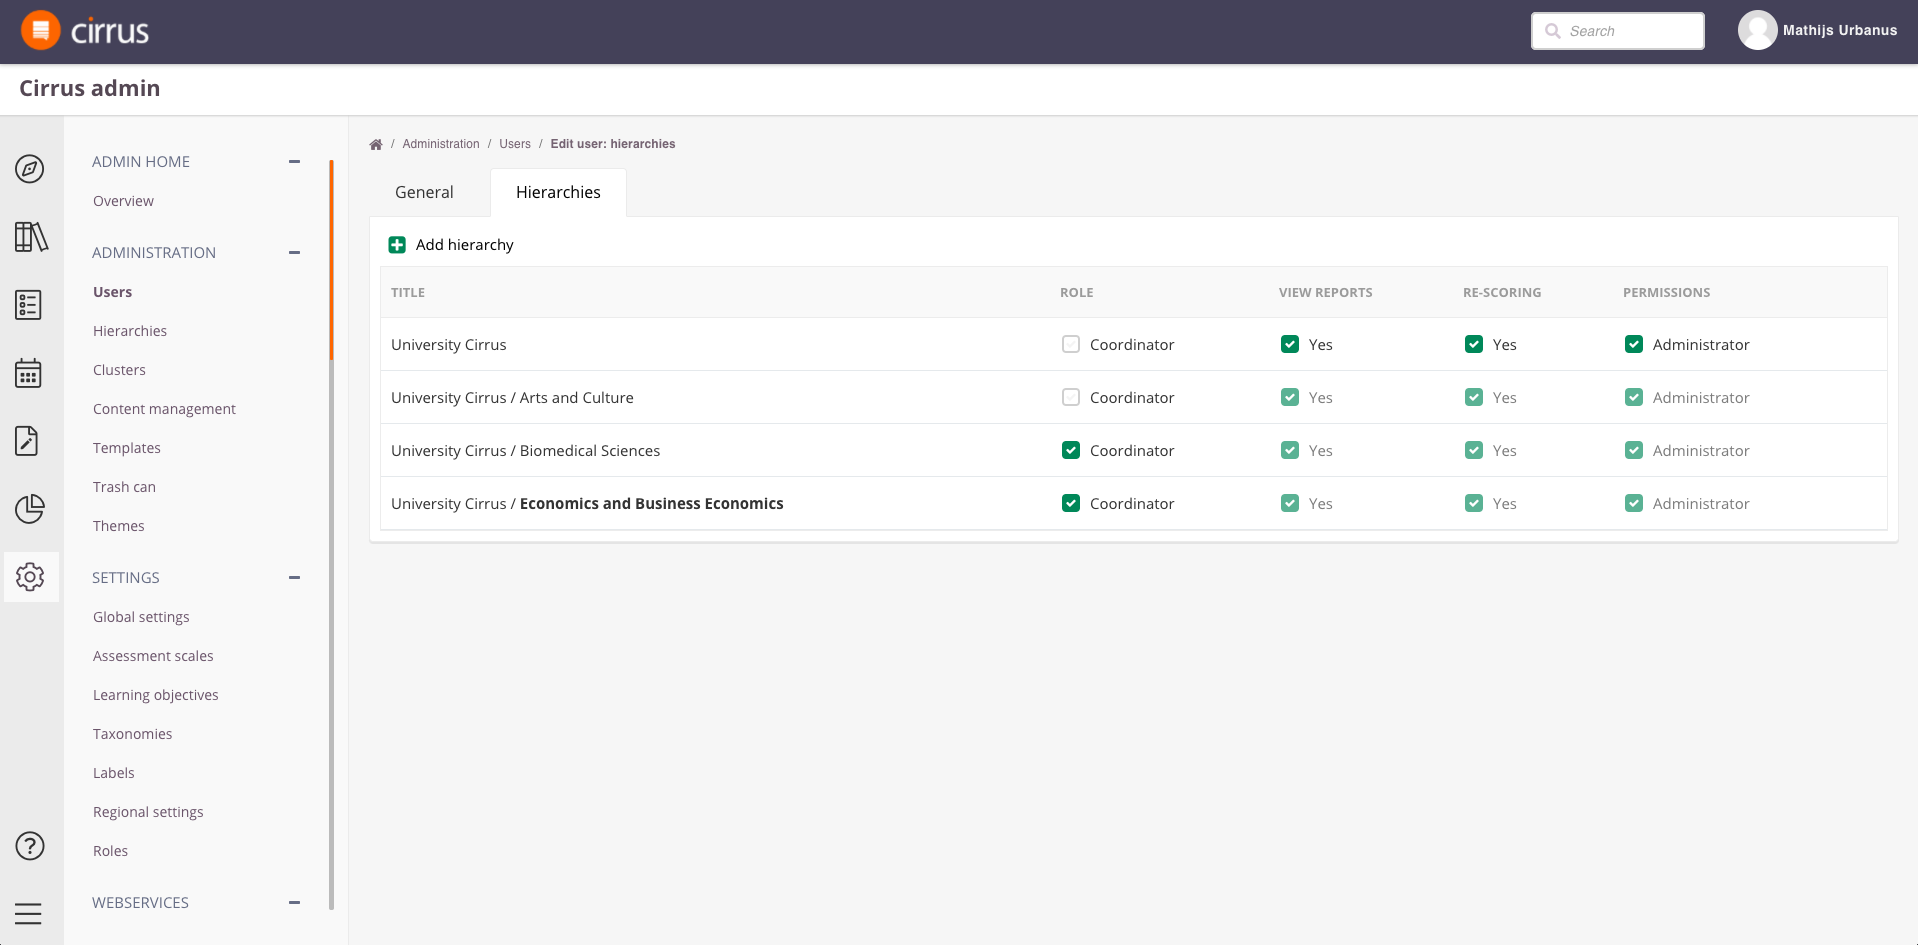
- Your access to groups to administer: in your user-profile on the hierarchy tab it is determined via check-boxes which groups you can administer (this inherits down).
- Not only has this been setup for your admin account, it also determines which permission you can grant the users you create:
Bulk actions in user management work differently from bulk actions on items in the Library: there is no button to update a selection of users or filter options to select a specific hierarchy yet. Most customers do this 1) via their integration with Cirrus or 2) using the user import to update the group membership or role of users.
Deactivating or deleting users
When a user should no longer have access to Cirrus the principal rule should be: do not delete, de-activate (archive). Cirrus offers several options in this case, in order of preferred approach these are:
- On the user's profile check the options Disable Cirrus login and Disable password reset.
- Assigning users to a Role without any access to the application. If you have a list you can achieve that in bulk by re-importing them as it will update their role.
- Deleting a user - this moves it to quarantaine the trash can. However: if the trash can is emptied after 30 days, the user data will be lost.
- Alternatively you can assign a new password and email address to the users. Changing their e-mail will disable the ability to reset the user's password and subsequent login via the reset password link on the login page. Replacing users' email with a mail address you monitor will allow you to see if/when they try to get access.
If you use an integration / single sign on we recommend taking steps at the identity provider level. Currently there are no manual bulk actions in place for these actions, except for assigning the no-access role via the user import.
Enabling or disabling password reset for users
Password reset by users themselves - It depends on a users role and profile settings if a user is able to reset their own password:
- Candidates cannot login and change their profile / passwords via the interface. On the login page candidates might offered 'Can't login?' link which access the option to have a reset password email being sent to the candidates email address. Please note: Always contact your exam provider about the correct procedure - Cirrus does not have direct access to your account.
- Authors, Teacher and other users can go their profile after logging in and change their password. Alternatively they can also use the 'Can't login?' link on the login page.
Admin: Disable password reset option on the user profile.
User administrators of your environment can decide to set the option "Disable password reset:" on the user profile. This usually set by customers using an integration for user management and not part of the import via Excel. Using this will disable both resetting the password via the User Interface and remove the 'Can't login' link on the login page.
Alternatively some customers set a generic (no-reply) email address for all users. This will disable the ability to reset the user's password and subsequent login via the resetpassword link on the login page.
Restricting login access to certain IP's
User administrators of your environment can decide to allow users to only login from certain locations or better said: certain IP addresses. This can be set in the user's profile:
- Go to Admin > Users > open a user
- Allow login via these IP addresses: by default this field is empty - which means there is no restriction to log in from a specific address. If you enter an IP address or IP range, the user can only log in from this IP or IP range:
- You can add multiple IP addresses: they should be separated by a comma.
- You can add an IP range by using a dash (for example x.xx.20.123-x.xx.20.130)
- Empty = All IP addresses allowed.
When a user tries to login from outside this IP, he or she will be denied access and see a message stating "Sorry, but you don’t have permission to log in from this IP or IP range":