
This article explains how to create a candidate review session.
- All results must be fully marked and submitted.
- All results must be published.
Step 1: create a new review session
- Go to Delivery in the left navigation bar.
- Click the Candidate review tab.
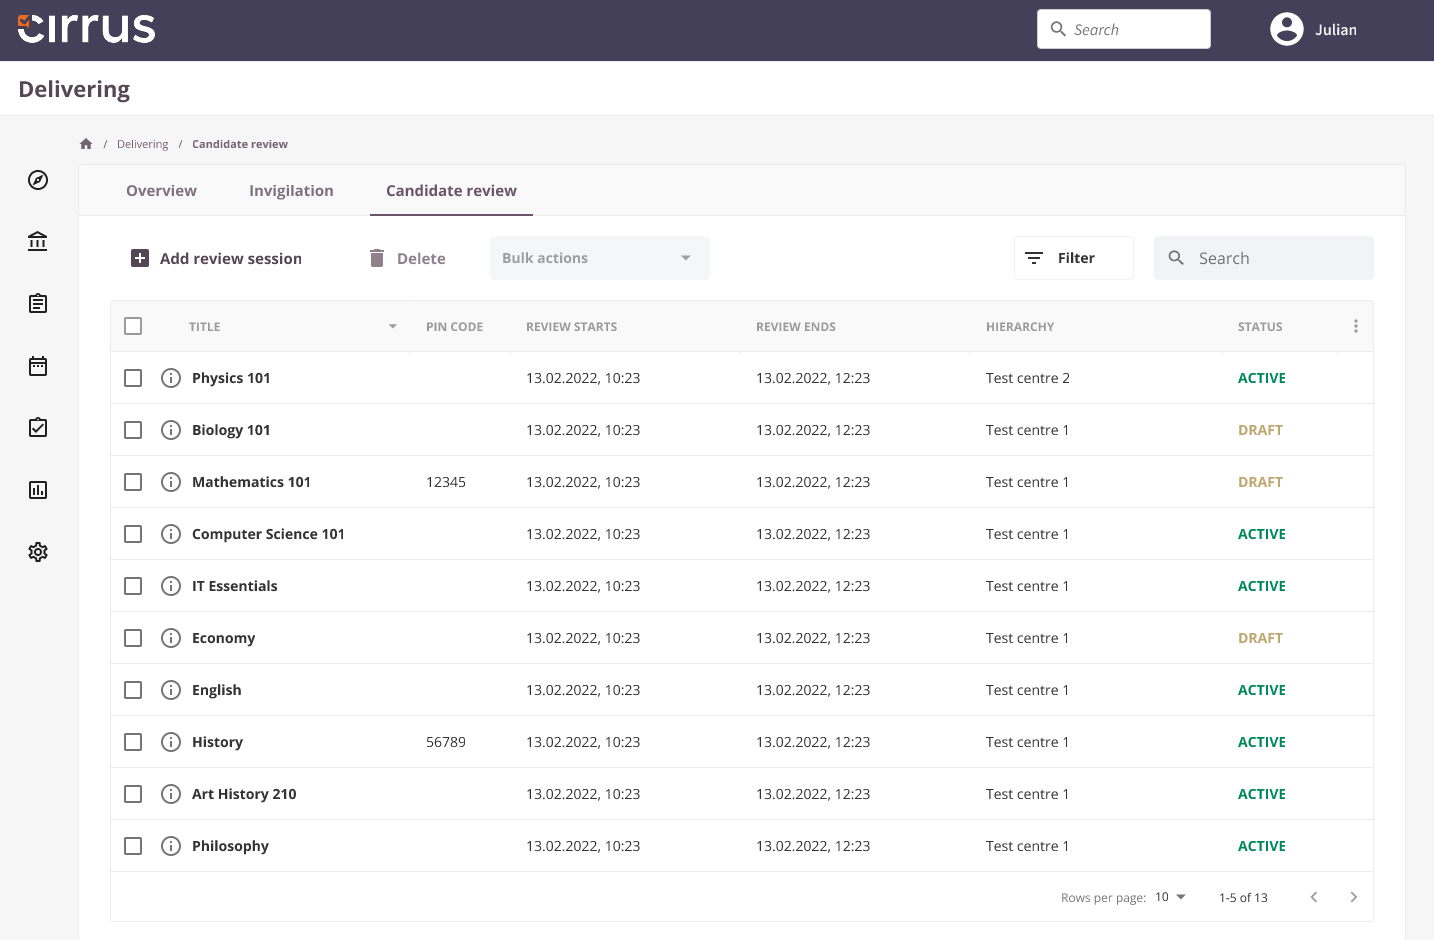
- Click Add review session.
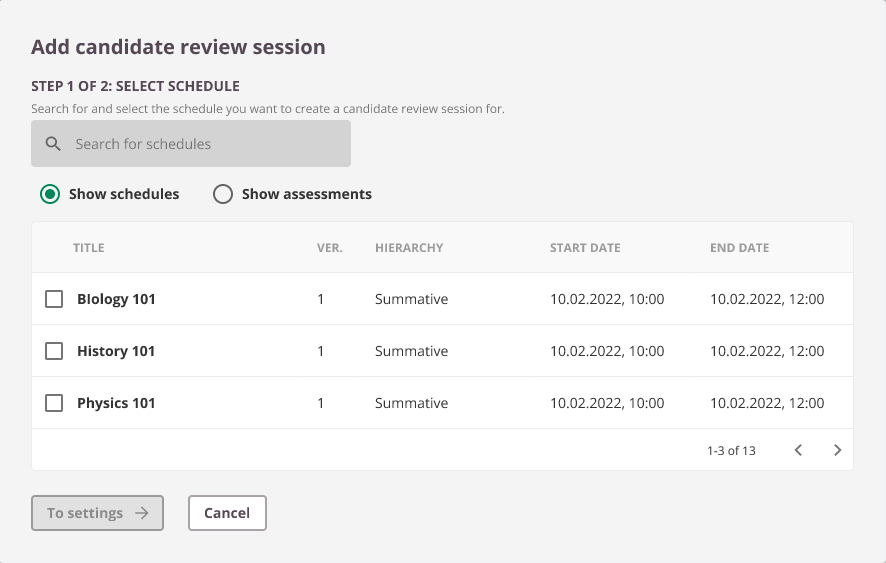
- Search by Schedule or Assessment.
This is an important choice: are you creating a candidate review session for a schedule or for an assessment?
Per schedule: creates a candidate review session for one specific schedule (recommended).
Per assessment: creates a candidate review session for all schedules created from the selected assessment. This may result in multiple review sessions on the candidate dashboard (for example, in the case of a resit).
- Select your schedule or assessment and click To settings to continue.
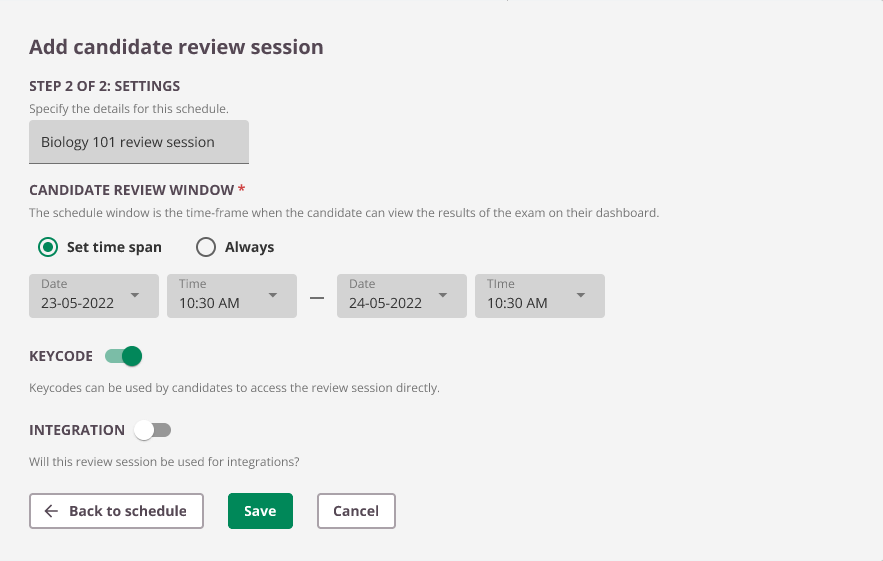
- Use the pre-filled schedule title or enter a new one.
- Choose the availability: time window or always. This setting cannot be changed once the session is active; however, you can archive the session if needed. The session will automatically archive once the time window ends.
- Choose whether to use a Keycode.
- An integration ID is only required for integrations.
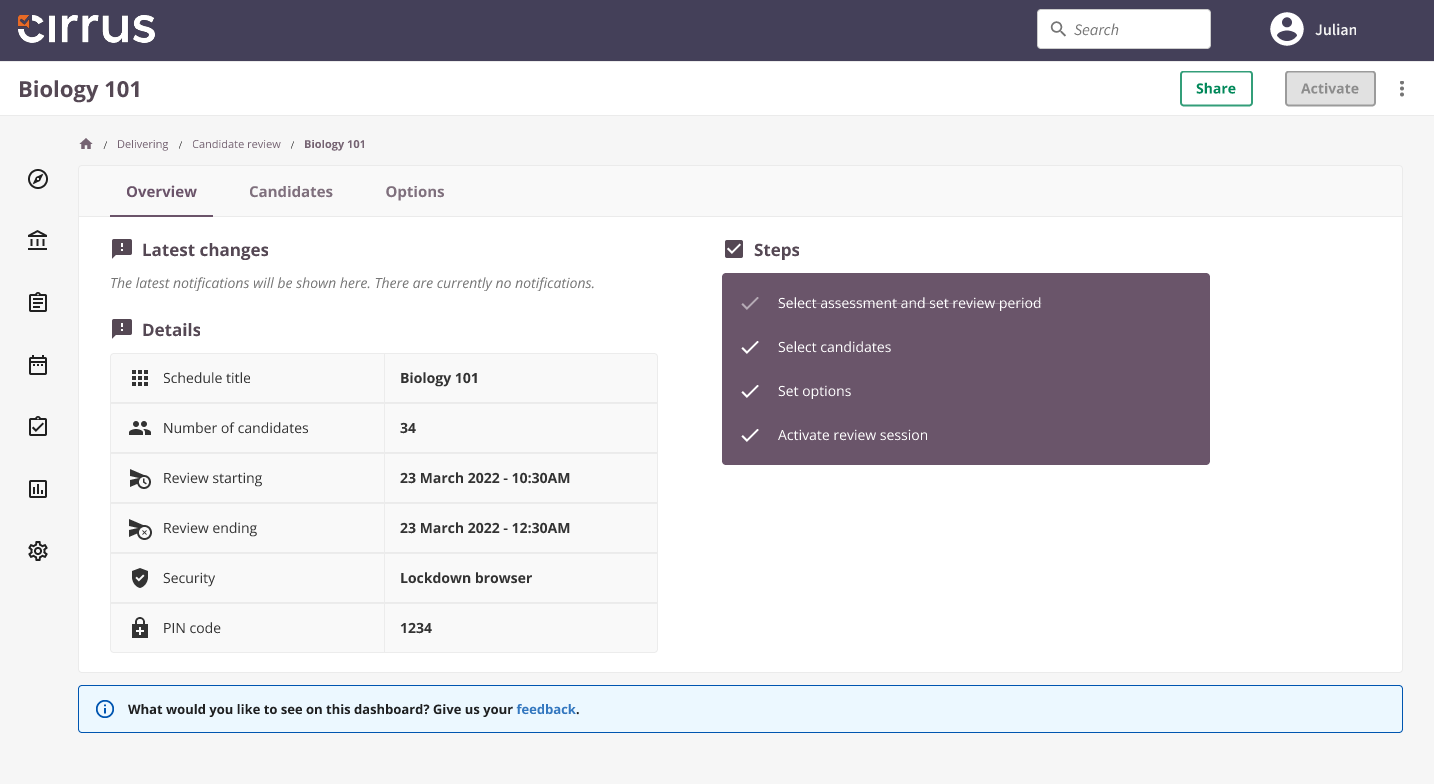
A candidate review session has now been created. Follow the remaining steps to complete the setup.
Step 2: add candidates
You can only add candidates whose results have been published. Multiple candidate review sessions can be created for the same candidate, provided the previous session has ended.
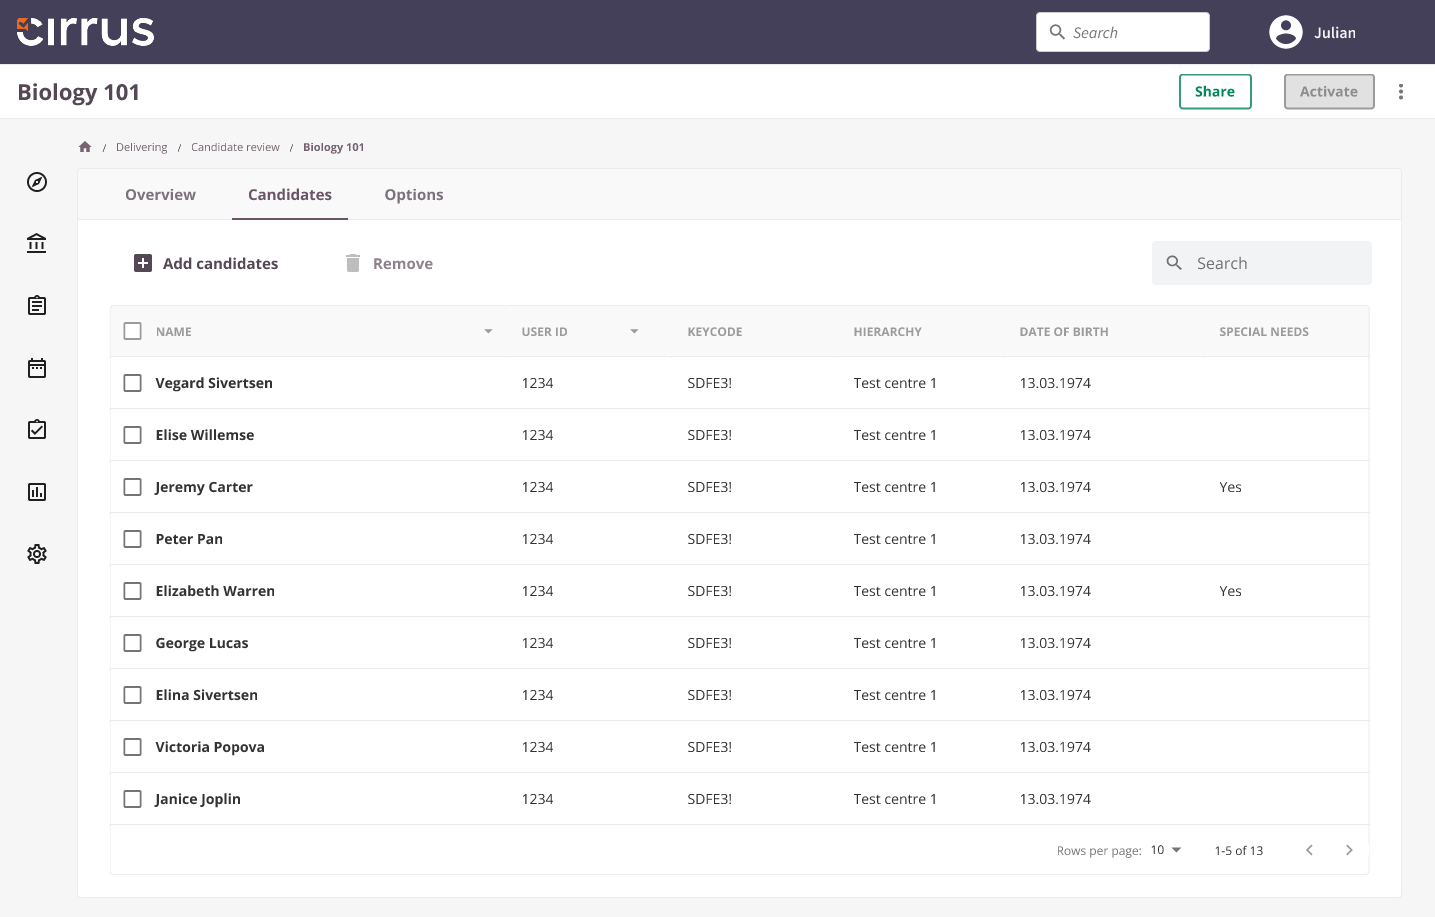
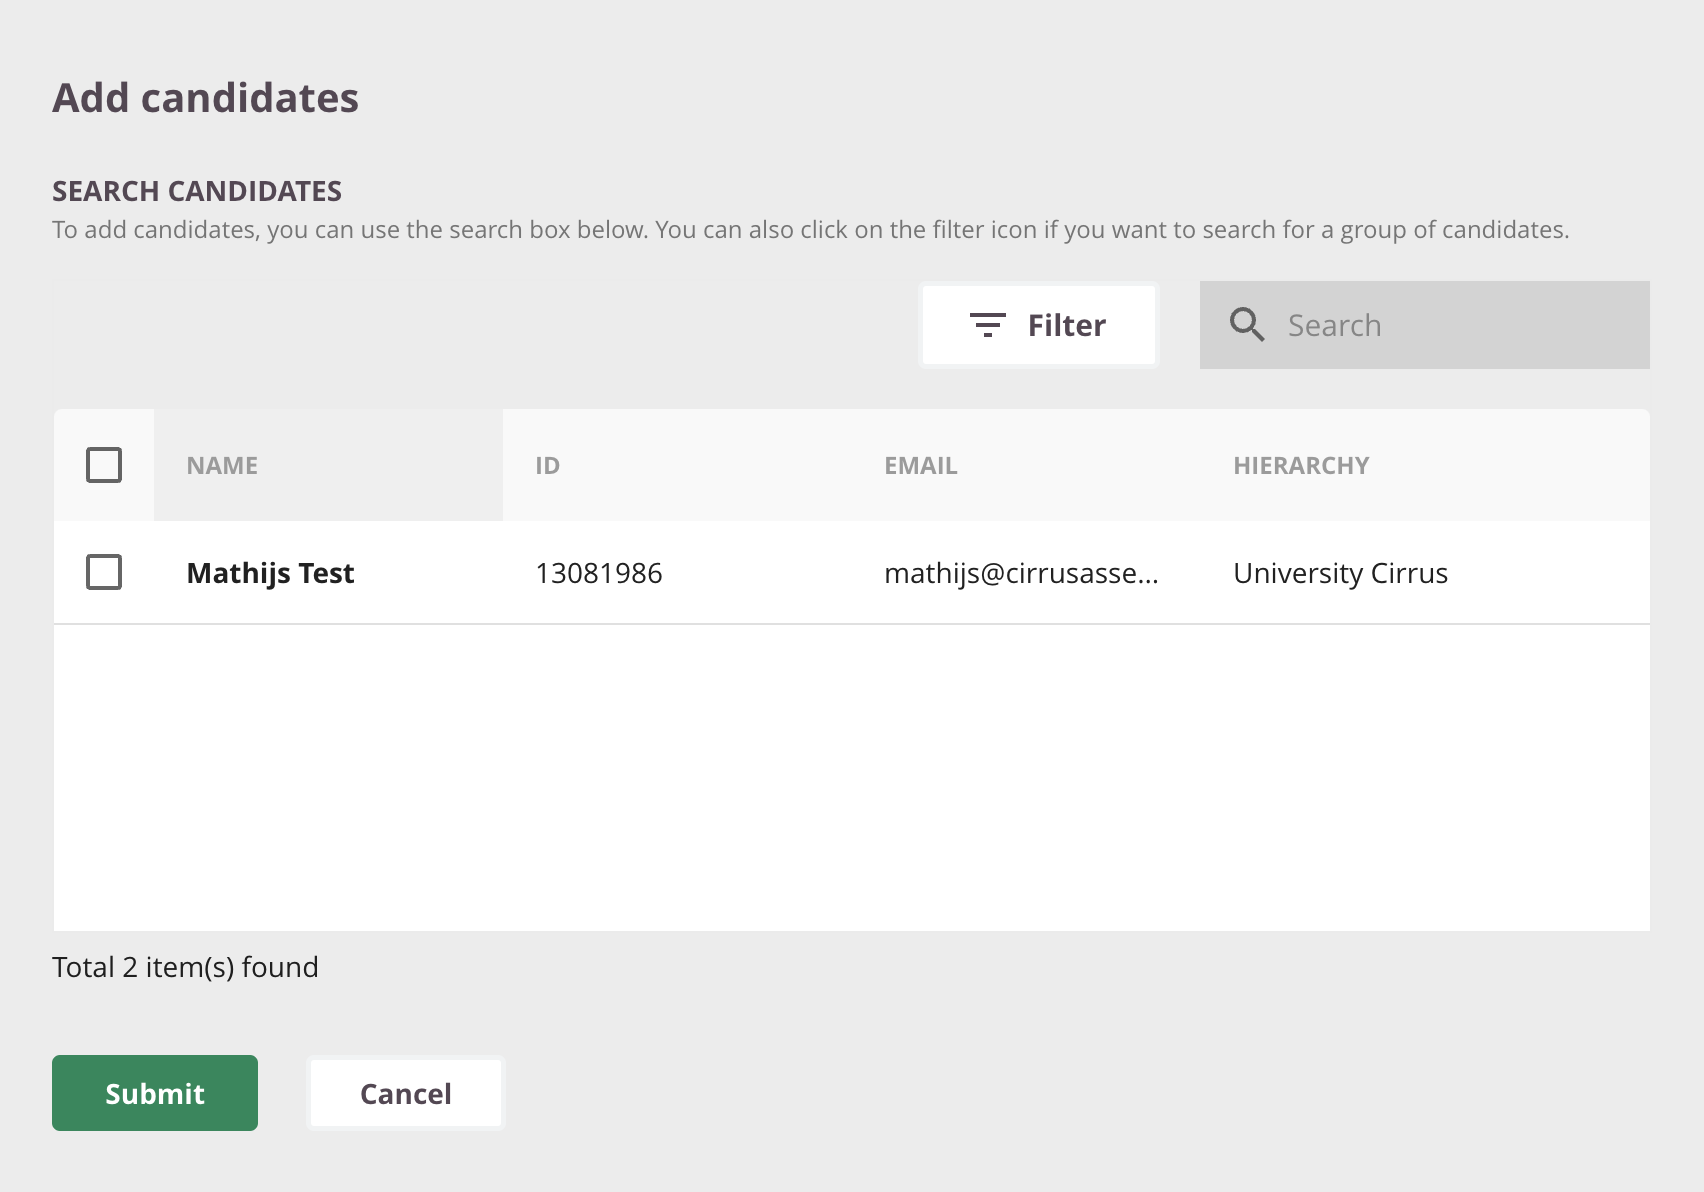
- Click Add candidates.
- Search and select your candidates.
- Click Submit.
A candidate can be removed from an active session provided they have not yet started it.
Step 3: options
Use the Options tab to define what information candidates can see during the review session. See Options: Candidate review for full details.
Step 4: activate review session
Once all previous steps are complete, click Activate to activate the candidate review session.